Marble countertops are a popular choice for many homeowners due to their elegance and durability – but they can also be quite expensive, with prices ranging from $50 to $250 per square foot. With that said, with a little bit of elbow grease and some hand skills, you can create your marble countertops at a fraction of the cost – and though most professionals don’t recommend these methods for a long-term investment, it is possible to DIY marble countertops.
In this article, we will provide you with a step-by-step guide to creating (and installing) your marble countertops. On top of that, we’ll discuss whether the process is worth your effort or not – and present some tips
DIY marble countertops: Is it worth it?
First of all, marble countertops are beautiful, but they can be expensive and difficult to maintain. In inner decoration, homeowners who don’t want to spend much money tend to look toward accessible methods to simulate natural stones, which epoxy and faux marble can both do.
At the end of the day, however, anything other than original marble countertops will take twice the effort to be installed and maintained, not lasting for long before cracking away. Kitchens and bathrooms, in particular, are very humid places, urging these surfaces to be as durable as possible. In any way, calling for professional help is always advisable, especially if it’s your first time doing this alone.
Read our complete guide on faux marble countertops here.
If you’re still willing to try it out regardless, you can find everything you’ll need to handle such a task in the section below. By the end of the article, it’s up to you to decide whether the following DIY techniques are worth your time.
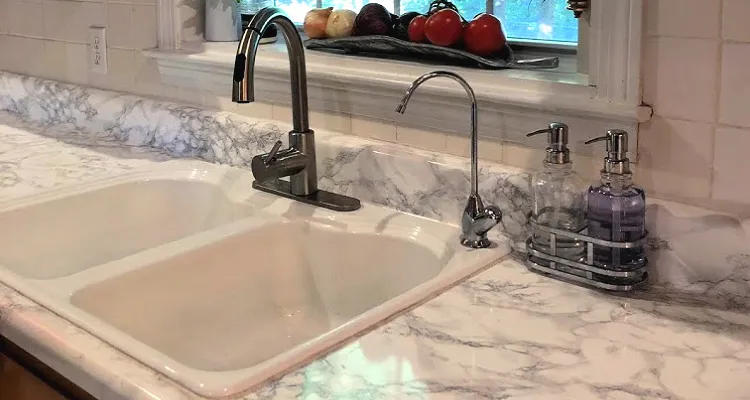
DIY marble countertops: 3 Three Main Techniques
Check out the best approaches to creating a stunning marble-like finish on your home countertop without breaking the bank:
Hand-Painting
Hand-painting your countertops may seem intimidating, but it’s actually a relatively easy and inexpensive technique.
First, you’ll want to start with a clean and dry surface. Then, using a foam roller, apply a base coat of white or light gray paint. Once the base coat is dry, use a fine-tipped brush to paint thin veins of gray or black paint onto the surface. Be sure to blend the colors for a natural-looking finish. Finish the project by sealing the countertop with a clear polyurethane sealer.
Poured Resin
Poured resin is a popular DIY technique that can create a stunning marble effect.
First, you’ll want to tape off the edges of your countertops to prevent the resin from dripping over the sides. Then, mix together equal parts of resin and hardener, following the manufacturer’s instructions. Add white and gray pigment to the resin mixture and pour it onto the countertop, spreading it evenly with a squeegee. Once the resin is cured, remove the tape and sand down any rough edges. Finish the project by applying a clear epoxy sealer.
Spray Paint
Spray paint is a quick and easy way to achieve a marble-like finish with no fuss.
First, start with a clean and dry surface. Then, use white spray paint as your base coat, applying several light coats until the surface is completely covered. Once the base coat is dry, use black or gray spray paint to create the veins of the marble. Hold the spray can about 8 inches away from the surface and spray short bursts of paint to create thin, natural-looking veins. Finish the project by sealing the countertop with a clear polyurethane sealer.
Epoxy Kit
Epoxy is a resin that can be mixed with different materials to create a stunning, marble-like effect. Here, we can be faced with two main techniques: pouring the epoxy over the countertop and using a pre-made epoxy kit. Pouring the epoxy over the countertop requires more skill and experience, though allowing for more customization, while pre-made kits are easier to use but may limit your options.
The general tools you’ll need include:
- Epoxy resin;
- Mixing containers (preferably with measurement markings);
- Stir sticks;
- Paintbrush or roller;
- Heat gun or torch;
- Fine-grit sandpaper (220-400 grit);
- Cleaning supplies (such as soap, water, and a sponge);
- Primer (if recommended by the epoxy manufacturer);
- Sealant (if recommended by the epoxy manufacturer).
After you’ve chosen the right fit for your countertop, follow the tutorial below:
- Prep Your Countertops: Before applying the epoxy, it’s important to prep your countertops. Start by cleaning your countertops thoroughly to remove any dirt or debris. Then, use fine-grit sandpaper to create a smooth surface for the epoxy to adhere to, applying a primer to your countertops to ensure that it adheres properly.
- Mix and Apply Your Epoxy: Once your countertops are prepped and ready, it’s time to mix and apply your epoxy – so follow the manufacturer’s instructions in any case. Apply the epoxy to your countertops using a brush or roller and, if you’re using the pouring technique, pour the mixed epoxy over your countertops and spread it out with the same tools. Then, use a heat gun or torch to remove any air bubbles that may have formed – allow the epoxy to dry completely before moving on to the next step.
- Sand and Seal Your Epoxy Countertops: Once your epoxy is dry, use fine-grit sandpaper to smooth out any imperfections. Then, apply a sealant according to the manufacturer’s instructions to protect your countertops from damage and staining.
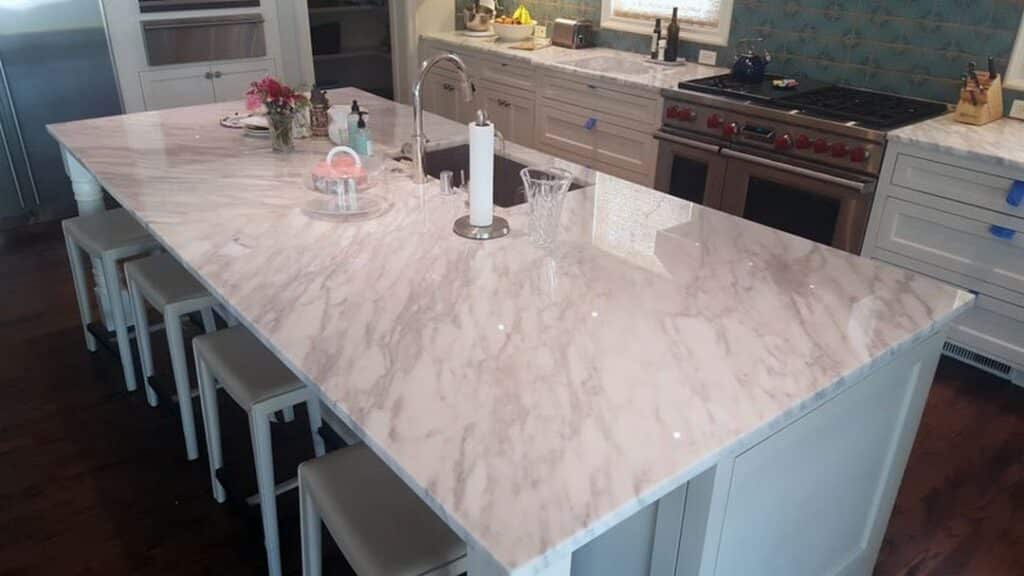
Why Traditional Marble is Still a Good Investment
While epoxy/faux countertops are a cost-effective alternative to traditional marble, it’s important to note that true natural stones are still superior in every regard. Marble is not only timeless and elegant but also heat-resistant, withstanding high temperatures without compromising its whole structure in the long run.
Furthermore, marble slabs are a long-term investment that can increase the value of your home. And while they may require more specific maintenance than epoxy countertops, for instance, such as yearly sealing, they can last for decades under proper care.
Get the help of experts at Eagle Stones!
At Eagle Stones, we believe that natural stone is always the superior choice when it comes to countertops. Not only are they more durable, but they also offer a wider range of color options and customer support, besides being environmentally friendly. If you’re in the market for new countertops, consider choosing natural stone from Eagle Stones!
Our team, located in Sarasota, FL, has been providing our clients with high-end supply, installation, and maintenance services for over a decade, embracing a catalog of imported slabs from all over the world. If you live near us, don’t hesitate to contact our office and get a free quote of your own today!
We’ll be waiting for you.

