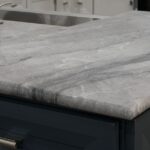
One of the best sensations we get out of buying a granite countertop is the feeling of contemplating its wonderfull high gloss surface. It makes the whole kitchen look like new.
The appearance of this surface is due to the polishing process the stone goes through before being outfitted in your home.
However, nothing lasts forever and all the luster goes naturally away over years of usage (many years if you’re taking good care of your countertops). The original finish becomes worn, dulled and scratched. Luckily it doesn’t need to remain like that!
One of the beauties of acquiring natural stone countertops is that you can always bring all the gloss back through polishing again.
If you wanna know everything about how granite is polished, and how it can be re-polished in order to make your countertop look great you’ve come to the right place.
Polishing granite is a great way to make it look as good as new. Looking for some more information on granite countertops? We’ve got you covered. Just check out our definitive guide on granite countertops!
How granite is polished originally

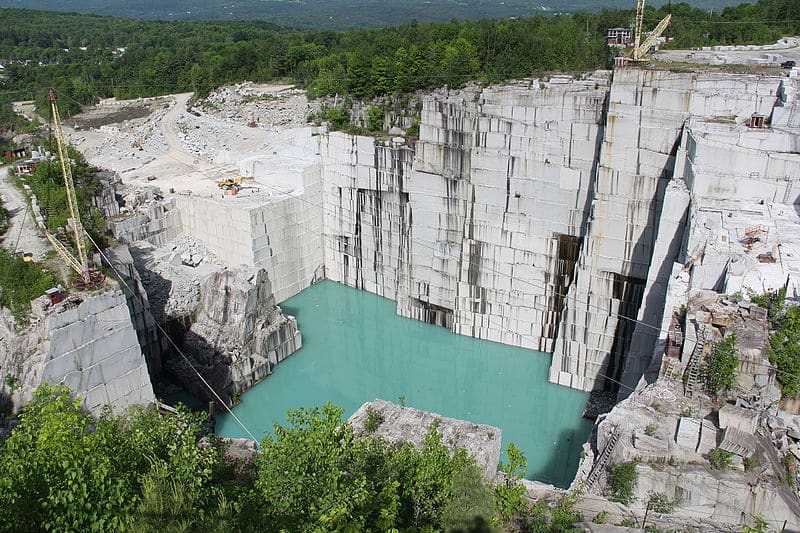
Granite, when mined from a quarry, looks very different from the stone you’re used to see adorning beautiful kitchens. It’s not until it’s cut in slabs and polished that you can know what it is really gonna look like.
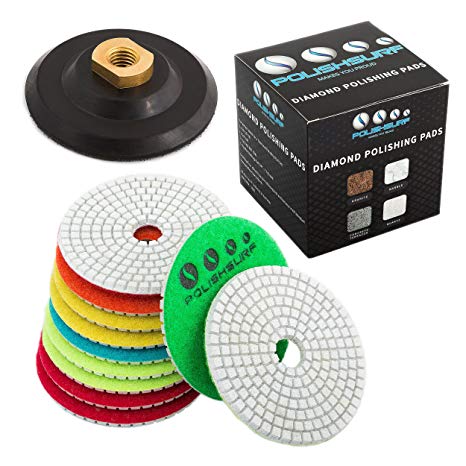
In order to reach the desired finishing, granite slabs are run through a series of progressively finer diamond polishing pads in a slab polishing machine.
With each new layer of polishing, the finer the pads, the glossier the surface finish.
I know what you’re thinking. This doesn’t look like the kind of process that can be recreated at home, however, it can. And it doesn’t need to be so extensively repeated, this will depend on how deep are the marks and scratches in your countertop.
How to polish your granite counters
Before we talk about how you can polish your countertop, let’s make a quick observation. We’re not talking about “non-abrasive polishing products” that recreate some of the gloss on stone surfaces but don’t really remove any material.
We’re talking about actual polishing, the type where a small layer of your surface top is removed so that a new one without any marks is now on display.
With that in mind, in order to achieve this result, you will need a grinder and a set of diamond polishing pads, to recreate the original polishing process.
Optionally, in the end, in order to ensure an even better result, you will need a buffing pad and a bit of MB-20 Granite Polishing Cream.
Getting the hardware

Polishing pads are supplied in grits ranging from 50 to 3000. Keep in mind that the lower the grit, the courser the pad. So at the same time, the deeper the scratches, the lower the grit you will have to start from. 200 should be enough for starting.
Try to select at least one polishing pad for removing the scratches, another for dulling the surface, and a third one to achieve the shine.
You can either buy the hardware or rent it from a hardware store. If you’re having trouble just thinking about it, a good idea is to look for a complete polishing kit, with all pads included.
How granite is polished
Start by cleaning your countertop, with a granite specific cleaner.
In order to remove the scratches, attach the appropriate polishing pad, set to the recommended speed. Normally a low one. Work your way from the outside edge of the granite and then inwards.
Remove excessive dirt and repeat the process with the finer diamond polishing pads until you reach the finest grit.
There is no need to apply excessive pressure, let the diamond pad do its work.
Apply the polishing cream and buff to the desired gleam with a buffing or hog’s hair pad.
This simple process is enough to make your granite counters look like new again.
After the desired finishing is achieved, your countertop will require sealing to ensure it will last for long years.
Is it DIY possible?
Managing a power tool is a dangerous task, and polishing a surface until it looks like new again requires skill and experience.
Unless you’ve got familiarity with power tools, we definitely do not recommend trying this by yourself. In which case you can hire stone pros to the job for you.
If you’re living in Florida, Eagle Stones would be more than happy to assist. Get in touch!


