Did you know that installing a countertop alone corresponds to 30% of the full price you pay when upgrading your stone surface? Why does it cost so much? Is this reasonable?
In this article, you’re gonna find out exactly how a countertop is installed, what are the main difficulties of the process, which tools are necessary and much more.
Why is installing a countertop a challenge?
Both natural stones and quartz offer a combination of characteristics that make them hard to handle. They are very heavy, and although known for their durability, when handled they can easily crack or break. This means that transporting it is difficult, to begin with.
Besides, their very high hardness makes them only cuttable through special (and dangerous) tools.
Installing a countertop will require skill, patience, specific materials and tools, and of course, time.
Preparing for installation
The installation of a countertop starts even before it’s ordered from a trusted manufacturer.
Your old countertop must be removed and your kitchen must be thoroughly measured. Everything that can affect the shape of the countertop must be verified, such as pipes, wall bumps, etc.
You must make sure your cabinets can handle the weight as well. Are they properly supported and sturdy? If not, they might need to be reinforced with support beams. If you’d like your new countertop to extend to areas where no cabinet is available to take their weight, the installation of support ledges will be necessary.
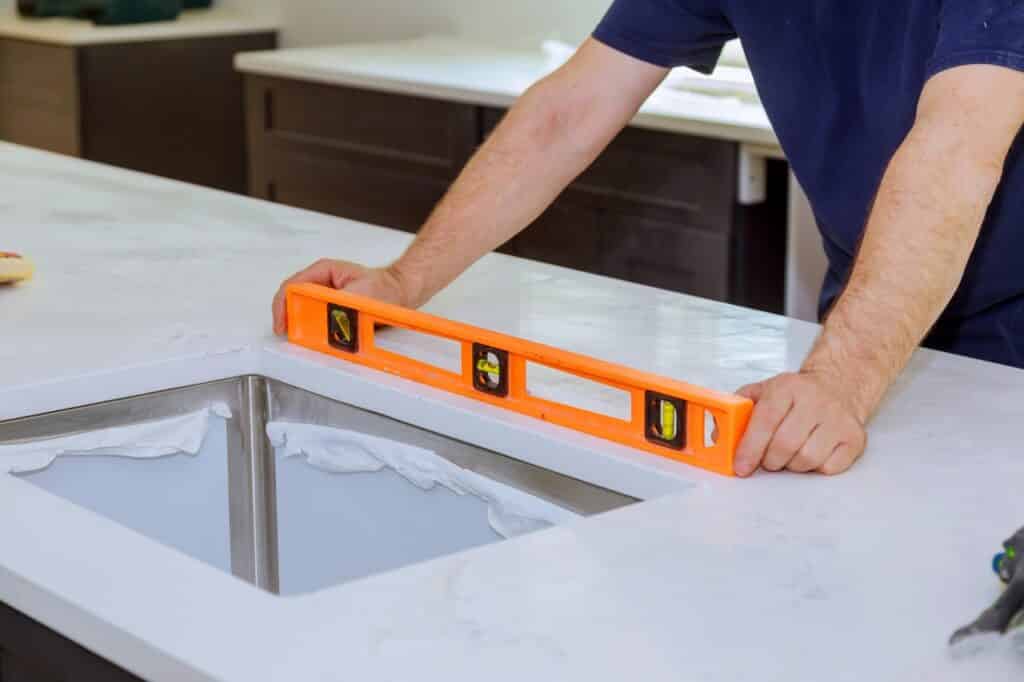
The next thing that must be checked is if all of the supporting structures are leveled. Leveling must be perfect since any void areas bellow your stone or quartz slab are basically inviting a crack.
Now, these initial measurements, once taken, won’t be used to create the actual countertop as that would be too risky. After a stone is cut, there’s no coming back, and no one wants to operate with that risk. Instead, a template must be created to be tested in place first.
This template might be prepared out of many materials such as cardboard or even wood. An even safer way of doing it, which is our choice here at Eagle Stones, is to create a plastic model replicating the exact measurements of your future countertop.
For creating the template, the exact locations of cutouts and holes must be considered. Also, the length of the countertop overhang must be decided.
If the template is approved then the actual countertop can be ordered.
Transporting natural stone and quartz countertops
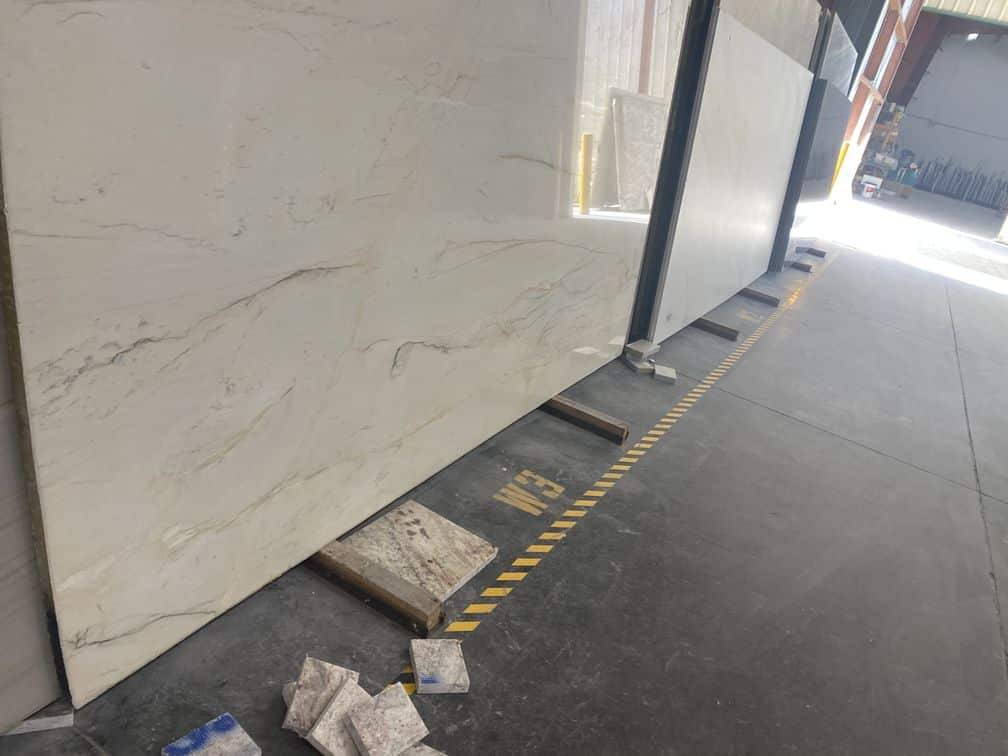
As we’ve mentioned, transporting slabs is one of the hardest parts of installing a countertop. Bear in mind a 2’ x 6’ stone countertop can weigh more than 400 pounds, carrying it is not a one-person job.
To make it worse, natural stone and quartz slabs must always be carried in a vertical position, this will avoid cracking or breaking. That said, when transported on trucks or pick-ups an A-frame rack is necessary.
Extra care must be taken every time countertops are handled, especially in thin areas like cutouts.
Installing a countertop
Before being permanently installed in your kitchen, countertops must be dry-fitted so a perfect fit is ensured. The slab must then be laid on the frames of your lower cabinets.
Besides checking again if all cutouts and holes are in the right places, one should also make sure that the wall-facing edge of the countertop is completely flush with the wall.
This is the last chance for adjustments, if anything is wrong, the countertop must be removed and then corrected. Often, the wall-facing edge will require some grinding with a diamond pad in order to completely match the wall.
Once everything is okay and the slabs are again dry-fitted in place it’s time to prepare the seams, if any.
Joints will be filled and sealed with a color-matched two-part epoxy mixture. That is one of the trickiest parts of the project. The surface area near the edges must be protected with tapes to ensure its polishing won’t be affected and the joint must be made perfectly level so that it’s as imperceptible as possible. The best results require the usage of a device that presses both slabs against each other and a seam setter.
After the epoxy has hardened, all excess must be scraped carefully not to damage the stone surface.
With all the seams ready, it’s finally time to secure to slabs to the lower cabinets. Even the countertop weight is nearly enough to ensure no movement, a bead of caulk is run all along the perimeter of slab where it meets the supporting structure.
Finishing the installation
Once the countertop is secured to the supporting structure, only one thing is left out for the installation to finish. Besides cleaning, of course.
If it’s a natural stone product, it must be sealed. For more details about how countertops are sealed, you can check our complete article on the topic.
That’s the end of it, as you’ve probably noticed, installing a countertop requires both the proper skills and tools. For this reason, most stone care experts affirm that despite some successful attempts, it is not a DIY project. Plus if you’ve spent a lot of money in the perfect kitchen countertop, you will want a flawless installation, not a risk.
If you’re living around Sarasota in Florida, you can trust our team at Eagle Stones when upgrading your countertops. Visit our showroom.