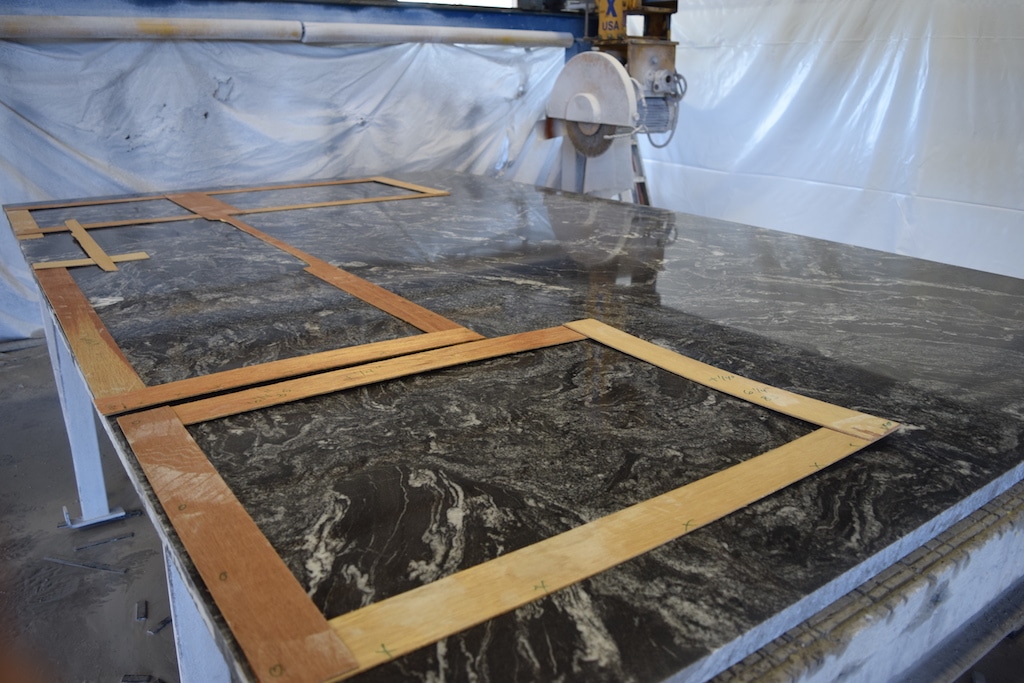
Home remodeling takes into account a lot of things: wallpapers, floors, decoration, furniture, windows, and even stone countertops – which, despite sharing a great cost-benefit, can eventually become outdated. That doesn’t mean it needs to be changed; most of the time, it only needs a few additional touches to match your new home vibe, like making space for a new sink. In this article, we’ll teach you how to drill a granite countertop, if needed, and subtly modify its design.
Should I drill my granite countertop?
First of all, the go-to solution to any problems your countertop might face is an expert. Just like any construction job, changing the structure of a granite stone requires professional, meticulous handwork that beginners don’t have. In other words, there can’t be any margin of error – because you can potentially damage the whole thing beyond repair.
Therefore, even though the goal of this article is to present you a casual way to deal with the situation by yourself, any installation technique of this kind is not really a DIY thing. In case you feel slightly confused, don’t hesitate to call up a crew to give you a hand.
With that in mind, read up our similar guide on how to polish granite countertops – where we further explain this idea.
How to drill a granite countertop in 5 steps
Besides the aforementioned expertise, you will also need special equipment to learn how to drill a granite countertop. The ideal items to get are as followed:
- strong drill (get a specialist’s choice, like a diamond-core drill bit)
- protective goggles and mask
- safety gloves
- earplug (optional)
Keep in mind that drilling will produce loud vibrations and flying dust everywhere. In this sense, it’s best to keep kids, pets, and anything that might be hurt if not paying attention away from the workspace. Once everything’s in check, it’s time to begin.

STEP 1
Determine the size of the hole and its designated location, adjusting the drill accordingly. Double-check all the measurements (there will be no second chances) as you go and mark the areas. For small holes, a sharpie or marker might be enough, but it’s best to use a template for bigger ones.
STEP 2
Clamp scrap stone directly underneath the area to be drilled, thus avoiding chips. Clamp on both sides of the granite, too, in order to ensure stability when drilling.
STEP 3
Install the right-size drill bit and make sure it’s not loose – for safety and practical purposes. Place the drill on the market location and apply light pressure.
STEP 4
Turn on the device at a steady speed until it goes deep enough into the stone. After that, you can speed up. Some people like to do this with water – and although it’s not necessary, the expected cloud of dust becomes a pool of cream, which may be easier to deal with. Either way, the choice is up to you.
STEP 5
Keep drilling until you hit the scrap stone underneath. When making several holes, don’t forget to let the machine cool down for a while before using it again. After that, you’re done!
Conclusion
As you can see, granite is quite a delicate natural stone that needs proper handling. It is essential that you consider every risk factor before going for a DIY drilling – you don’t want to waste a beautiful stone such as yours! You see, there are many reasons why granite became so popular: two of them being the low-maintenance costs and long-lasting durability, indispensable attributes you don’t want to lose.
You might also like: The Cost of Granite Countertops – Complete Guide
Eagle Stones can do it for you!
Don’t worry about the specifics – contract professional help to do that for you. If you live near Sarasota, Florida, why not give us a call to get started with a free quote? With an unlimited supply and top-notch installation services, our team will go to your house and do the necessary maintenance with ease.
You may also like: Are Granite Countertops Radioactive?
We’ll be waiting for you!


