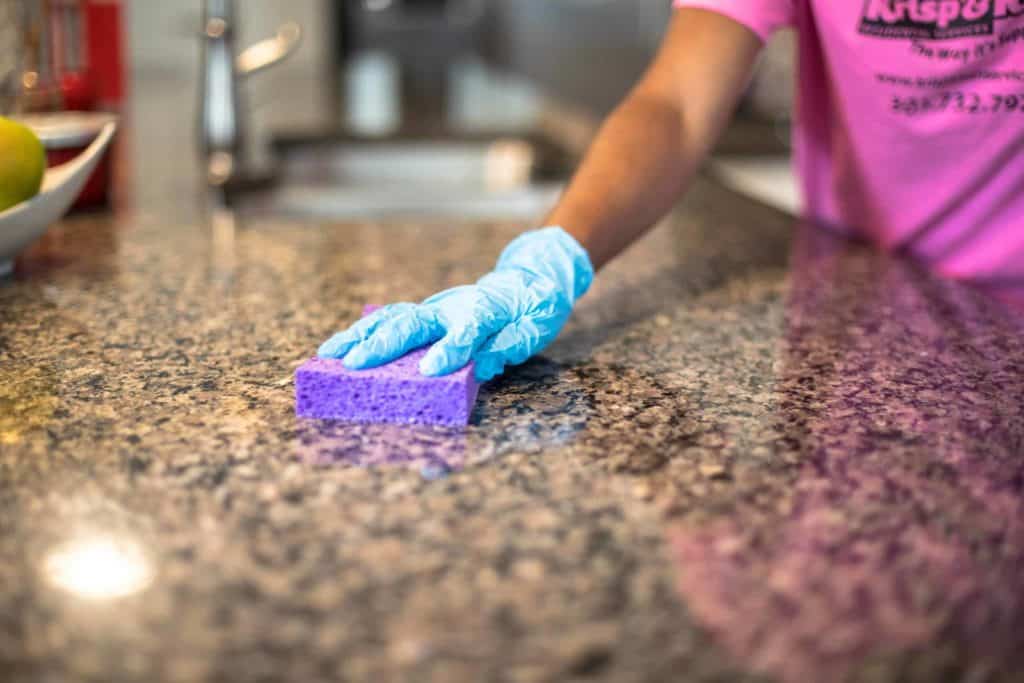
Be it a kitchen island or a bathroom vanity, granite countertops are not immune to the passage of time. Unfortunately, even under due care, every natural stone will start showing signs of old age one way or another, which means it’s time for a general renewal. You see, there are two ways to go about this: either you prolong its lifetime with a sealer and a cleaning routine or you change it up altogether. If you’re here, you’re probably aiming for the latter – asking yourself how to remove granite countertops the right way.
Well, it’s not a simple process, we guarantee – but it’s doable. Perhaps, even easier than installing a granite stone in the first place. To read how you can do this, keep reading this step-by-step article.
Why remove your old granite
It’s not just for the sake of removing an old piece of furniture. In fact, removing old granite countertops has loads of long-term benefits, such as:
- Beauty: Of course, the obvious and most apparent factor is the look itself. Outdated and worn-out stones can make for a really bad impression to the eyes and hands. Worst case scenario, it even ruins the home aesthetic you desire, especially around new cabinets and wall backsplash. Choosing the right kind of stone (it doesn’t even have to be granite) can help you remove that out-of-place piece that most likely came alongside the house when you bought it.
- Value: Speaking of buying houses, who knows how long the granite has been there? The trend of integrating natural stones into American residencies has been around since the 70’s. Given their durability, no wonder why many people have never dealt with a countertop installation in their lives. In this sense, changing the old for the new is essential to raise your home’s resale value to future buyers.
- Safety: Updating something that your household uses on a daily basis can avoid the most simple of accidents in the long run. Not only that, but granite is a porous surface, which means that it’s prone to swelling from water absorption, as well as cracks and fissures from constant weight. Although sealing is always the way to prevent this problem, it’s far from a permanent solution.
Tools you’ll need beforehand
Before you assemble the necessary items, let’s just clarify a few things.
Just like any type of installation, minimal expertise is always recommended. Following our next instructions is not exactly difficult, but having previous knowledge will come in handy here. If you’re a beginner, asking for professional help is never a bad idea. All measurements, all options, everything has to be done in precise steps for the best possible outcome. It’s an investment, after all!
Anyways, here are the tools to remove granite countertops:
- wrench
- dust mask
- gloves
- bucket
- safety goggles
- chisel
- screwdriver
- putty knife
- pry bar
- caulk softener
- box cutter
You can find these for rental or sale in your nearest construction store.

When you’ve got everything at hand, clear out the space that you no longer want. This includes drawers, cabinets, shelves, and the countertop’s surface itself. After no appliances or utensils are in the way, you may start the removal process.
How to remove granite countertops
The steps below will guide you – just make sure to get a friend or parent to help you out. A couple of extra hands to hold the weight are always welcome!
- STEP ONE: Shutting off the water valves
Shut off the water valve underneath the faucet to avoid water spillage – the same goes for the cold and hot valves. With the wrench, disengage the water lines by turning the nut counterclockwise.
- STEP TWO: Detaching the faucets and sink
Disconnect the water pipes to the sink’s bottom. Detach the hold-down nuts and push the faucets upwards from the rim. Around the tub’s base, unscrew the nuts on the hold-down brackets and break the caulk that seals the sink to the stone with a knife or flat chisel.
Drop-in fixture sinks just need to be separated from the adhesive layer that glues it all together. You can also use the chisel to break through it.
- STEP THREE: Removing the plywood
Remove the plywood sheet between the cabinets and the granite by loosening the screws inside the cabinets. Use a screwdriver for this.
Now it’s time to remove the backsplash, if there’s any, that connects the countertop to the wall. Be very careful here. With the pry bar and hammer in hands, start striking the topmost edge of the backsplash and repeat this process until it pops out.
- STEP FOUR: Raising the granite slab
Identify the main connection joint between the cabinets and the granite. Insert the pry bar into it, hitting it gently with a hammer, breaking their shared glue or adhesive.
Tapping a wooden shim between the edges will help you hold the stone at the desired spot. Then, you need to keep screwing from the front side of the cabinet until the entire front frame can be lifted.
- STEP FIVE: Removing the whole stone
After you reach the far end of the perimeter with the pry bar and hammer, try to slowly raise the stone. Depending on the size of the slab, though, raising the whole granite to place on the floor will require the efforts from everyone involved. Be careful not to harm yourself!
Whether you plan to store it or place it somewhere else in the house, just make sure to do it properly. A nice tip is storing the stone in a clean room with its top facing down.
You’re done! Now you should know how to remove granite countertops without too much fuss, right? We hope we could enlighten you! Have you yet decided which stone you want to get next?

Get your brand new granite stone with us!
Dealing with any kind of remodeling can be tricky. It’s like people say – easier said than done, which is true in most cases. If after reading this guide you still feel insecure about removing your old countertop by yourself, don’t look further than Eagle Stones!
In Sarasota, Florida, our expert team can help you with anything stone-related. The online catalog – which you can access here – may also brighten your mind when choosing the ideal product for your countertop. Get a free quote today!


